How To Contribute Code To BlogEngine.NET

BlogEngine is a CodePlex-based project and uses Mercurial as source control. Most of described below equally applied to any CodePlex project that uses Mercurial. Here is step-by-step what you need to do to share your code on CodePlex.
Prerequisites
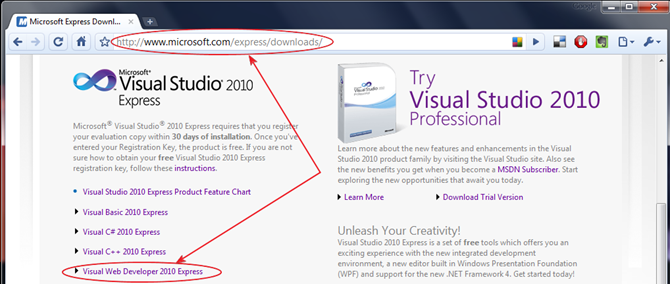
To work with BlogEngine you need Visual Studio 2010 (free express edition is fine) which can be downloaded from Microsoft site.
You also need TortoiseHg to move files to and from repository. If you used to work with TortoiseSVN you know the concept. It works as Windows Explorer shell and very easy to use.
Branching Out
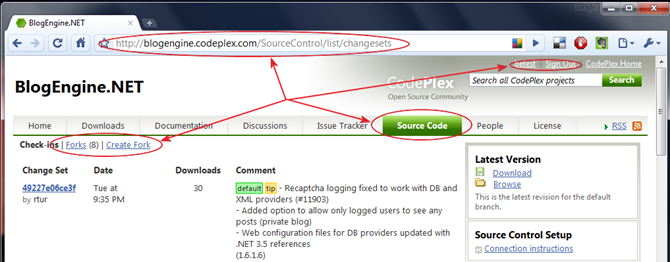
First step is to create branch (fork) and clone code to your local computer. If you don’t have CodePlex account, go get one – registration is fast and easy. Once account created, log into CodePlex and navigate to BlogEngine and then go to “Source Code” tab. Hit “Create Fork” to create your own copy of code in the CodePlex repository.
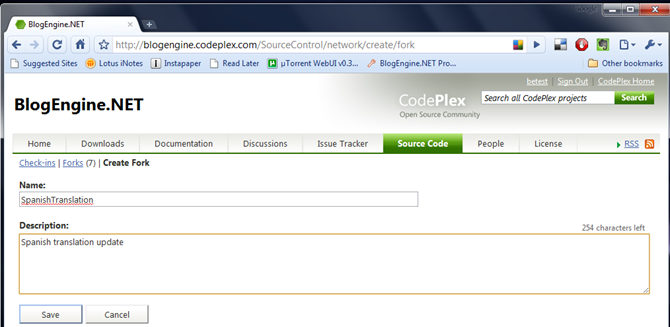
Give your fork some descriptive name and click save button.
CodePlex will generate new branch and show you a URL where it will be stored. Copy it as you going to use it in TortoiseHg, we are done here.
Clone to Local
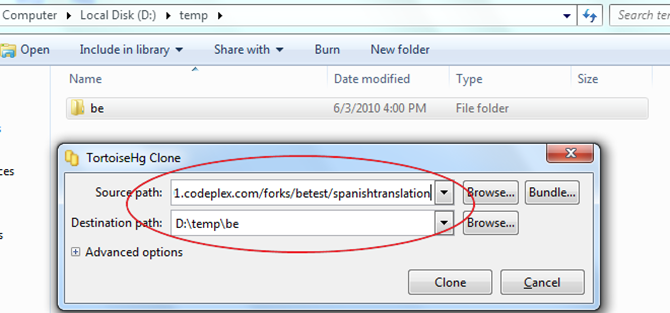
Now create folder on your local drive where you going to work with source code. In my case it is D:\temp\be, can be anything you like. Right-click this folder and choose TortoiseHg/Clone. Paste path to your CodePlex fork into “Source path” box and click “Clone” button, TortoiseHg will pull files from CodePlex to your computer.
You should be all set now to work with project files. BlogEngine structure is very simple, it has only two projects: web site and class library. Set website as startup project and default.aspx as start page and then hit “F5” – make sure Visual Studio can build and run project. Then do your changes, TortoiseHg will keep track on any changes you done.
Commit and Push
When you ready to save your work, you first save it into you local repository by right-clicking project folder and selecting “Commit” in the TortoiseHg menu. TortoiseHg will ask you to provide any description/notes for this commit, type in brief description of changes you done and push “Commit” button. Your work saved now on your local drive.
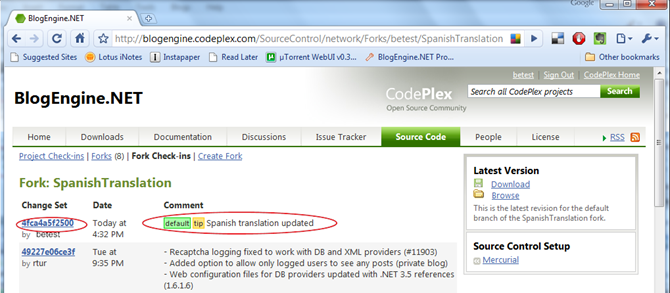
When all completed, you need to push changesets from your local repository to CodePlex. Again, right-click project folder and in the TortoiseHg menu group select “Hg Repository Explorer”. Review change sets you committed and if it looks good click “Push Outgoing Changesets” button. Tortoise will ask your user name and password at this point and copy all changes to CodePlex.
Go to CodePlex and make sure all changes showed up in your fork.
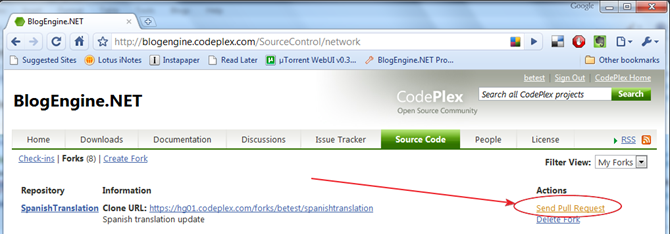
Last step – use “Send Pull Request” link to notify project team that you want your code merged into main project trunk. There!
At this point it is responsibility of the team to keep it going. Someone will receive notification, pull your fork and review changes. If everything looks ok, all will be merged with main trunk. You should always get back notification on the status of your request, even if it was not implemented.
It might look like a lot of steps but it really very simple and straight forward process. Have something you need to fix every time you upgrade to new version? Bringing it to the core project might be a good way of making your life easier and may be you’ll make someone else happy as a bonus.

