Web Platform Installer on Windows Home Server

 Windows Home Server is a great OS for home users, it does a lot of stuff for you and you can find many useful plug-ins if you want more. One thing that it does not do out of the box though it does not work as a web server. It might be ok for average home user, but many advanced users, not to mention developers, would love to have their home server also serve web pages and applicatons. Fortunately, under the hood it is old good Windows server 2003, and you can make it do just about anything WS 2003 can do.
The word of caution: advanced server functionality is not supported by Microsoft and definitely it is not supported by me. This is for folks who know their way around and won’t run back crying if something goes wrong. I just document my own experience in the hope that someone else will find it useful.
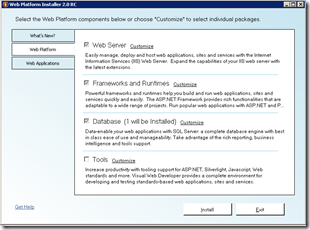
To be precise, I was using Acer Aspire AH340-UA230N in my installation, but it should be identical on any WHS hardware. To get started, you’ll need to remote into your server. If your Home Server is not configured for remote access, check out this guide. Once you are able to get into what looks like normal WS 2003 desktop, things are look pretty normal. You’ll be warn about danger of messing around – you can do significant damage to default Home Server installation if you not careful. Open Internet Explorer and go download and run Web Platform Installer 2.0.
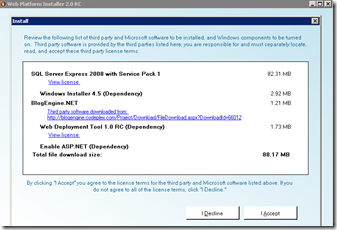
There are several choices you need to make based on functionality you want out of it. Along with ASP.NET you can install SQL server express, MVC.NET, PHP and whole bunch of applications to pick from. Don’t forget to select BlogEngine under Web Applications tab – it does not require database or MVC and will run on bare-boned ASP.NET 2.0 ;)
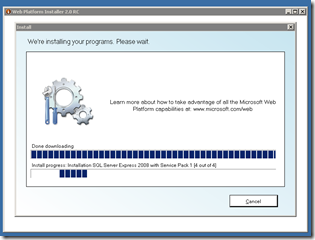
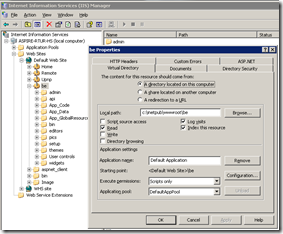
Installer will ask you to reboot once, so you’ll have to close remote connection and open it again to start WHS. Setup will proceed and install all required components. When it is done, you can open IIS server and verify that it looks just as one would expect: virtual directory in the web root, configured as application, all looks very familiar.
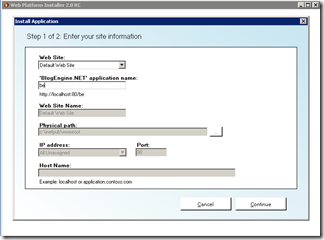
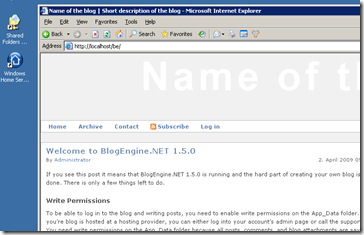
Assuming you did not get any errors and selected BlogEngine as application to be installed and named it “be”, your blog should now be available at http://your.homeserver.com/be. I believe from now on you should be able to install web applications just as you would on any standard windows server running IIS 6.0, either using Web PI or simply copying files and configuring new application in IIS.
During installation you might need to configure your router to open port 80 etc. but this is another topic not specific to WHS. All together process is pretty painless and not much different from one you would went through when using Web PI on XP or Vista. Just be extra careful and do not forget that it is Home Server after all – if in doubt about something, don’t do it! At least, bing around first to make sure it won’t break anything.
